


At a glance
| iPhone / iPad | Voice Memos app (built in) |
|---|---|
| Android | Manufacturer recorder app (Recorder, Voice Recorder, Sound Recorder…) |
| Mac | Voice Memos or QuickTime Player (both built in) |
| Windows | Sound Recorder (formerly Voice Recorder), built in |
| Output files | M4A/AAC (Apple), M4A/AMR/other (Android), M4A (Mac), M4A/WAV (Windows) |
| To transcribe | Save or export the file, then upload it here — first 5 minutes free |
Choose your device
Every major operating system ships with a built-in voice recorder, so in most cases you do not need to install anything. The exact app name and menu labels differ by platform and version, so find your device in the table below and follow the matching section.
| Device | Built-in recorder app |
|---|---|
| iPhone / iPad | Voice Memos |
| Android | Varies by manufacturer — Recorder, Voice Recorder, or Sound Recorder |
| Mac | Voice Memos or QuickTime Player |
| Windows 10 / 11 | Sound Recorder (older builds: Voice Recorder) |
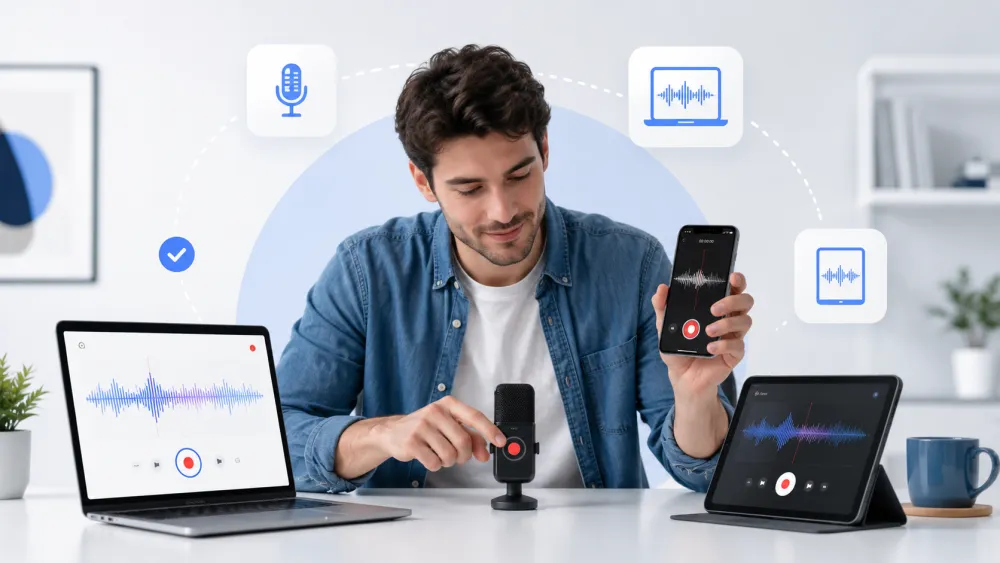
Step 1 — iPhone and iPad (Voice Memos)
On iPhone and iPad, use the built-in Voice Memos app to start recording in two taps. Menus can shift slightly between iOS versions, but the flow is stable.
- Open Voice Memos (swipe down on the home screen and search "Voice Memos" if you can't find the icon).
- Tap the large red record button to start; tap it again to pause or stop.
- Tap the recording in the list, then Share or the "..." menu to export it (Voice Memos saves as M4A).
Step 2 — Android (built-in recorder)
On Android, the recorder app is not standardized — it depends on your manufacturer, so the exact name and buttons vary. Common names are Recorder (Google Pixel), Voice Recorder (Samsung), and Sound Recorder on other brands.
- Search your app drawer for "Recorder", "Voice Recorder", or "Sound Recorder".
- Open it and tap the record button (usually a red circle or microphone) to start.
- Stop, then use Save or Share to get the file — output is often M4A, but some devices produce AMR, 3GP, or other formats.
Step 3 — Mac (Voice Memos or QuickTime)
On a Mac you have two built-in options: Voice Memos for quick notes and QuickTime Player when you want more control. Labels vary a little across macOS versions.
- Voice Memos: open the app, click the red record button, click it again to stop, then drag the recording to Finder or use File → Export.
- QuickTime Player: File → New Audio Recording, click the record button, choose your input from the small arrow next to it, then File → Save when done.
Both apps save an M4A file that you can upload here directly.
Step 4 — Windows (Sound Recorder)
On Windows 10 and 11, the built-in app is Sound Recorder (it was called Voice Recorder in older builds). It starts a recording in one click.
- Open Start and search "Sound Recorder" (or "Voice Recorder" on older Windows).
- Click the microphone/record button to start; click stop when finished.
- Right-click the recording and choose "Show in folder", or use the share/export option — output is typically M4A, and some versions offer WAV.
Microphone permissions and input selection
If recording produces silence or the app won't start, the cause is almost always microphone permission or the wrong input device. Grant access and confirm the input before you record anything important.
- iPhone/iPad: Settings → Privacy & Security → Microphone → enable the recorder app.
- Android: Settings → Apps → your recorder → Permissions → allow Microphone (path varies by manufacturer).
- Mac: System Settings → Privacy & Security → Microphone → enable the app; in QuickTime pick the input from the arrow next to the record button.
- Windows: Settings → Privacy & security → Microphone → allow apps to access the mic, and pick the right input under Sound settings.
When several microphones are connected (laptop mic, headset, external USB mic), choose the closest one to the speaker for the cleanest recording.
Save and export the file
Once you stop recording, save or export the file so you can move it to where it needs to go. Most built-in recorders keep the audio inside the app until you export it.
| Device | Typical output | How to export |
|---|---|---|
| iPhone / iPad | M4A | Share sheet or "..." menu → Save to Files / send |
| Android | M4A / AMR / other | Save, then Share or open in Files |
| Mac | M4A | Drag to Finder or File → Export |
| Windows | M4A / WAV | Show in folder, or share/export |
Transcribe the recording
After you have the file, upload it to the tool at the top of this page to turn the audio into editable text. TranscribeThis is post-recording: it processes the file after you upload it rather than transcribing live while you record.
- Drop the recording into the uploader above (MP3, WAV, M4A, AAC, and more are supported, plus the audio in video files).
- Wait for the AI draft — the transcript appears in a few moments with word-level timestamps you can click to hear the audio.
- Review names, numbers, and any unclear passages, then export as TXT, DOCX, PDF, SRT, or VTT.
Recording-quality checklist
A cleaner recording means less correction afterwards. Run through this list before you start anything you need to transcribe accurately.
- Record in a quiet room — background noise and music are the biggest accuracy killers.
- Keep the microphone close to the speaker; distance drops volume and adds echo.
- Confirm the right input is selected and permission is granted before you rely on it.
- For interviews, position the mic between speakers or give each person a close mic.
- Do a 10-second test and play it back before recording something you can't repeat.
- Keep the original file — re-sharing through chat apps can degrade the audio.
Frequently Asked Questions
How do I start audio recording on my phone?
On iPhone, open Voice Memos and tap the red record button. On Android, open your manufacturer's recorder app (Recorder, Voice Recorder, or Sound Recorder) and tap the record button. The exact app name varies by device.
How do I turn on the voice recorder on my computer?
On Mac, open Voice Memos or QuickTime Player (File → New Audio Recording). On Windows, open Sound Recorder (called Voice Recorder in older builds) from the Start menu and click the record button.
Is there a shortcut to start recording audio?
It depends on your device and apps — there is no single universal shortcut. Some phones let you add a recorder to Control Center or a home-screen widget, and voice assistants can start a recording by request. The reliable path is opening the built-in recorder app.
Which recorder app comes built into my device?
iPhone and iPad have Voice Memos; Mac has Voice Memos and QuickTime; Windows has Sound Recorder. On Android the built-in recorder varies by manufacturer, and a few phones ship without one, so you may need to install a recorder.
Why won't my recording start or why is it silent?
Almost always a microphone permission or input issue. Grant microphone access in your device settings and confirm the correct input is selected — for example, a headset instead of the laptop mic.
What file format will my recording be?
Apple devices and most others produce M4A/AAC; some Android phones save AMR or other formats; Windows can offer WAV. All of these can be uploaded here for transcription.
How do I turn my recording into text?
Save or export the file, then upload it to the tool at the top of this page. It generates an editable transcript you can review and export as TXT, DOCX, PDF, SRT, or VTT. The first 5 minutes are free without an account.
Can I record and transcribe at the same time?
Not with an uploaded file — TranscribeThis is post-recording, so it processes the recording after you upload it rather than transcribing live as you speak.
Related resources
Reviewed by the TranscribeThis product team · Last updated: July 2026