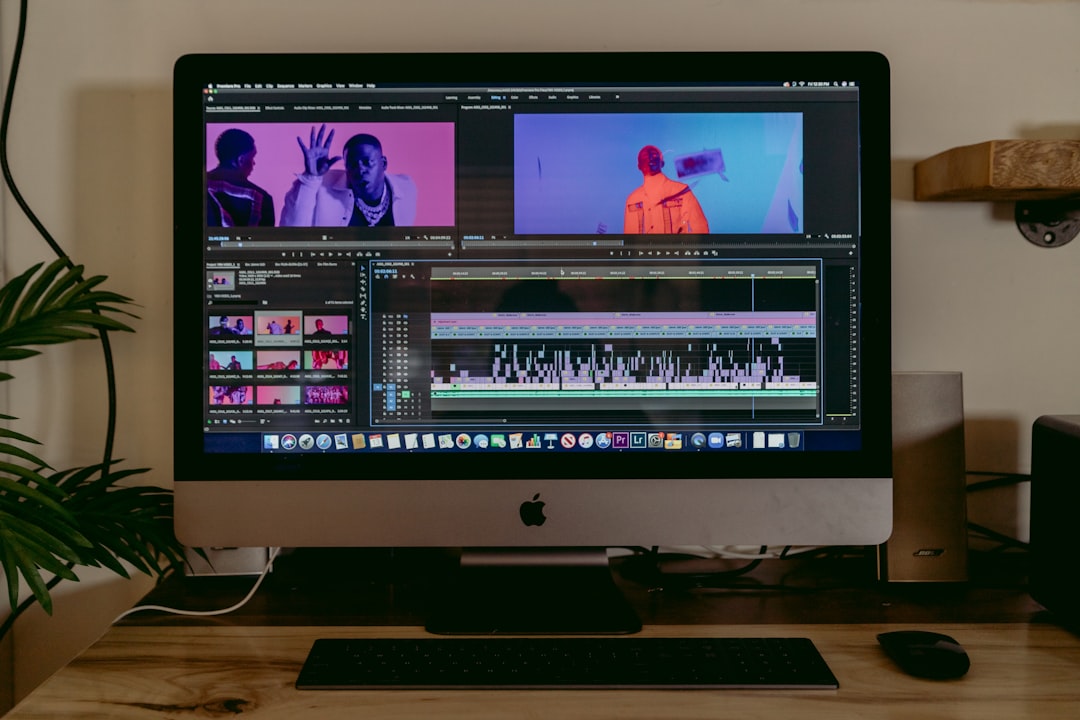
Setting Default Text Labels in Premiere Pro A Step-by-Step Guide for 2024
Setting Default Text Labels in Premiere Pro A Step-by-Step Guide for 2024 - Navigating to the Essential Graphics Panel in Premiere Pro 2024
Finding the Essential Graphics panel in Premiere Pro 2024 is pretty straightforward. You can get there through the menu bar by going to Window > Workspace > Graphics. Alternatively, there's a dedicated Graphics tab near the top-center of the Premiere Pro window. This panel's main purpose is to simplify working with motion graphics, making it a user-friendly tool for all levels of editors. It's worth noting that Premiere Pro has introduced a new Properties Panel, which works alongside Essential Graphics to provide more detailed controls for motion graphics templates. This new addition enhances the flexibility when creating graphics. Beyond simplifying the creation of animated graphics, the Essential Graphics panel also gives you the ability to group multiple layers, making it easier to manage complex projects. Furthermore, it also gives you access to the settings where you can personalize those default text labels that initially show up when you're working with text elements.
1. To get to the Essential Graphics panel in Premiere Pro 2024, you can either go to Window > Workspace > Graphics or just click the Graphics tab at the top middle of the Premiere Pro window. It's pretty straightforward to locate.
2. The Essential Graphics panel is aimed at making the creation of animated graphics easier, regardless of your experience level. It's a welcome feature for beginners and experienced users alike.
3. Interestingly, the Essential Graphics panel lets you select multiple graphic layers and group them together. You can either use the "Create Group" icon or right-click and choose it from the pop-up menu.
4. Alongside the Essential Graphics panel, we also have a new feature, the Properties Panel. It gives you a place to adjust settings specifically for motion graphics templates, which can be useful for those who use them often.
5. It's important to note that the default text labels used in Premiere Pro can be customized through the settings within the Essential Graphics panel. It offers a fair degree of flexibility in this regard.
6. If you've created graphics in After Effects and want to use them in Premiere Pro, you can import them by opening the Essential Graphics panel and navigating to Window > Essential Graphics. It's a convenient bridge between the two applications.
7. To fine-tune settings for Premiere Pro, go to Edit > Preferences (Windows) or Premiere Pro > Settings (macOS), and select the category you need to modify. It's a fairly common approach across different Adobe applications.
8. It's an interesting feature that when you hold down the Alt key (Windows) or Option key (macOS) while launching Premiere Pro, it resets everything to default settings. Useful if you've accidentally changed something you didn't want to.
9. Adding a simple shape background, like a rectangle, is pretty basic. Just click the "New Layer" icon and then choose "Rectangle." It's a quick and easy way to establish a basic element in your composition.
10. The Essential Graphics panel overall presents a more organized interface for creating motion graphics. This can make the whole video editing experience smoother and more productive within Premiere Pro.
Setting Default Text Labels in Premiere Pro A Step-by-Step Guide for 2024 - Understanding the Type Tool and Text Layer Creation
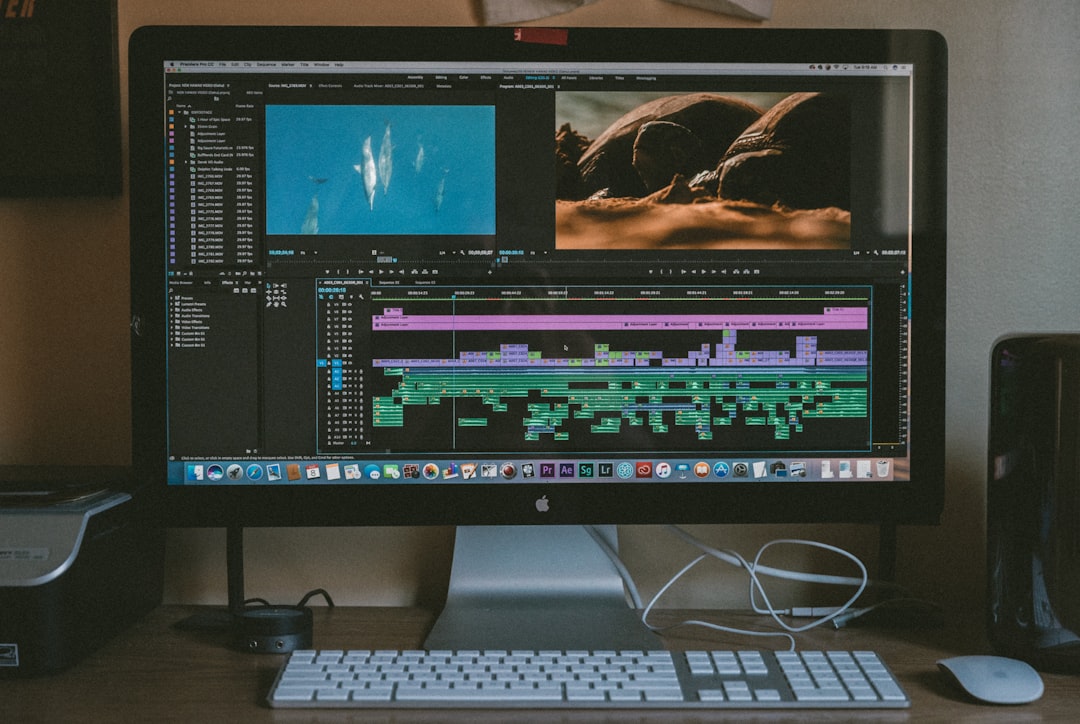
Understanding how to use the Type Tool and create text layers is fundamental to video editing within Premiere Pro, particularly when crafting titles and overlay graphics. You can initiate text creation by choosing the Type Tool (T) from the toolbar and then clicking directly in the Program Monitor to generate a new text box on top of your video. Once you start typing, a title item automatically appears in the Premiere Pro timeline, acting as a separate layer you can manipulate. The Essential Graphics panel unlocks advanced text features such as animation, letting you create visual effects like typing using keyframes for each letter. This same panel is where you adjust the default font or further personalize the look of your text elements. To ensure text is placed accurately in your project, consider setting the playhead in the timeline at the location you want your text to appear before using the Type Tool. Developing a strong grasp of these text-related tools is crucial for a smoother, more visually engaging editing process in Premiere Pro.
To begin working with text in Premiere Pro, you use the Type Tool (T), which is found in the toolbar. Clicking within the Program Monitor with this tool active creates a new text box where you can start typing. When you do, a "Title" item shows up in your timeline, which you can then treat as a separate layer above your video, allowing for manipulation. You can also use the keyboard shortcut Ctrl+T (or Cmd+T on Mac) to create a new text box. It's helpful to put the playhead at the specific point on the timeline where you want the text to appear before you select the Type Tool, ensuring correct placement.
The creation of text animations in Premiere Pro can get detailed: to animate the properties of text like position, size, or transparency, you'll need to click the stopwatch icon next to the desired property in the Effects Controls panel, which makes keyframes. For effects like typing, you'd need to add a keyframe for each letter.
Beyond the basics, Premiere Pro provides access to more advanced text control through the Essential Graphics panel, accessible from the Window menu or through a dedicated tab in the interface. This panel allows for fine-grained text customization and lets you design more sophisticated text layouts. It's basically an upgrade from the basic tools found in the Type Tool itself.
Premiere Pro offers a variety of ways to manage and edit text, utilizing both the Type Tool and the Essential Graphics panel. This reflects the growing importance of text and graphics in video editing and emphasizes the need for a versatile toolset. Whether you're looking for simple titles or more complex effects, Premiere Pro seems to offer a workable solution. It remains to be seen, however, how well it can integrate with workflows used outside Premiere Pro.
Setting Default Text Labels in Premiere Pro A Step-by-Step Guide for 2024 - Applying Master Text Styles for Consistent Formatting
Maintaining a consistent visual style throughout your video projects in Premiere Pro is crucial, and mastering text styles is a key part of that. Master text styles provide a streamlined way to apply formatting across different text elements. This means you can create a specific look for your titles, lower thirds, or any other text, and then apply it effortlessly to other instances of text. Creating a new style is easy—just right-click on some existing text, go into the Styles menu, and create your style. Once you have a style, it's simple to adjust font, colors, and spacing across all text elements that use it. What's also helpful is that Premiere Pro lets you preview how a style will look before actually applying it. This feature is useful for ensuring the style complements your project's overall design. If you're aiming for a more professional look in your videos, using master text styles can contribute to a cleaner, more consistent visual experience for your viewers.
Master Text Styles in Premiere Pro offer a way to maintain consistent formatting across various text elements within a project. This consistency helps build a more professional look and makes it easier for viewers to quickly grasp the relationships between different pieces of information.
Using Master Text Styles saves a lot of time since editors don't have to manually adjust each text layer individually. This is particularly useful for projects with a large number of titles or text elements, allowing for quicker workflows.
Within the Essential Graphics panel, you can easily create and save text styles for reuse. This helps with editing since you can define standard text appearances independently of the actual text content.
Working with Master Text Styles improves the organization of a project's timeline. When multiple text layers share the same style, they become easier to manage, which is helpful during complex edits.
Premiere Pro's flexibility means Master Text Styles can be tailored to specific video styles—like those used in corporate videos versus something more casual for YouTube. This lets editors adapt the visual style to suit different audiences.
Beyond fonts and colors, Master Text Styles allow you to control spacing and alignment. This fine-grained control lets editors create a clear visual hierarchy within the video, guiding the viewer's attention.
Master Text Styles are not limited to basic text elements, but can also be applied to animated graphics. This way, you can create dynamic text with consistent formatting, enhancing visual impact without sacrificing style consistency.
The use of Master Text Styles can even help ensure content is accessible. You can make sure the color contrasts and font choices adhere to readability guidelines, something important for projects with diverse audiences.
Interestingly, Premiere Pro allows for the export of custom text styles. This lets editors share styles between projects, maintaining a visual continuity even when collaborating or moving on to new projects.
A subtle, yet possibly significant, advantage of using Master Text Styles is how they can impact video performance. Having a consistent style across many layers allows Premiere Pro to optimize rendering, potentially leading to faster completion times for projects.
Setting Default Text Labels in Premiere Pro A Step-by-Step Guide for 2024 - Managing Caption Tracks and Bulk Text Editing
Premiere Pro 2024 has introduced refinements to how you handle caption tracks and perform bulk edits on text. This makes the whole editing process smoother. Now, you can save specific "caption styles" and use them across multiple projects. This helps keep the look of your subtitles uniform no matter what project you're working on. The panel where you manage captions has also been improved. Now, it's easier to add or edit captions, often with just a right-click within the Captions panel. Additionally, they've made it easier to create accurate captions thanks to AI-powered transcription and the ability to improve speech quality. And if you need to make changes to a lot of text at once, the new bulk editing features help manage that much easier. All these additions make managing text and captions a much more efficient process within Premiere Pro. It's hard to ignore that these upgrades have made working with text more accessible and the overall capabilities of the program more impressive.
Premiere Pro offers some intriguing features for handling caption tracks and bulk text editing, which could prove useful for different editing workflows.
For instance, you can edit a bunch of captions at once, which is a time saver, especially when dealing with projects that have a lot of dialogue. Premiere Pro supports common caption formats like SRT and VTT, which is good because it ensures your captions can be used on many different platforms without losing their style. Interestingly, with cloud features, Premiere Pro allows for real-time updates on caption edits when multiple people are working on a project. While it's useful for collaboration, it does raise questions about managing access and preventing conflicts.
Premiere Pro also uses automated speech recognition to create captions, which can be a good starting point for captioning. However, you still need to check for accuracy, since the results aren't always perfect, especially if there's a lot of background noise or different accents. When tweaking captions, Premiere Pro gives you very precise control over timecodes, which is important for making sure the text matches the audio perfectly. This can make for a better viewing experience by reducing confusion or interruptions.
Premiere Pro's captioning seems to be developed with accessibility in mind. You can easily create captions that meet the requirements of different captioning guidelines, which can improve the reach of your content.
Interestingly, captions can be linked to the master text styles you've set up, giving your videos a consistent look. You can even customize the fonts and sizes used in the captions, which can help make them easier to read. After the edits are done, Premiere Pro lets you export the captions separately or embed them directly in the video, offering flexibility depending on where you plan to share your content. The Program Monitor acts as a visual reference for the timeline, so you can easily judge whether your captions are properly aligned with the audio. It's vital that captions match the audio cues correctly, and this interface makes it easier to achieve that accuracy. While still having to check the result visually, it does streamline a potentially complex process.
Setting Default Text Labels in Premiere Pro A Step-by-Step Guide for 2024 - Exploring Label Color Options and Limitations
Premiere Pro's 2024 update brings both expanded options and some limitations when it comes to using label colors. You can now choose from updated default clip label colors, return to the older color scheme, or even build your own sets of color presets. While most of the color settings are easy to find, users have reported trouble in finding an intuitive way to set default text label colors. This indicates that some aspects of the labeling system could be made easier to use. The option to alter how the color coding works across an entire project is a good idea in theory, but the process could be improved for a smoother user experience. While these label color enhancements offer a nice set of tools, some users have expressed dissatisfaction with the changes, even if core functions remain untouched. This suggests that there is more work that needs to be done to truly refine how label color options work in Premiere Pro.
Premiere Pro's new label color system offers a way to organize projects and potentially leverage the psychological impact of color to enhance storytelling. However, this comes with limitations. For instance, using too many colors, especially in complex projects, can become confusing and even distracting. While assigning keyboard shortcuts to label colors speeds up workflow, overdoing it might make the interface cluttered.
The color choices also need further refinement from an accessibility perspective, as certain combinations might not work well for colorblind users. It's fascinating how color theory could impact editing choices. Cooler colors tend to feel calming, while warmer colors can create a sense of urgency—understanding this could lead to better narrative design.
However, Premiere Pro restricts label colors to a set palette, which limits the ability for individual projects to use unique colors for branding purposes. The new label colors also influence how we read information in the timeline, but relying only on color—without clear text labels—can make collaborative projects messy. Managing lots of label colors can be overwhelming, especially when working on large, complex projects.
Yet, label colors can be used in clever ways. Assigning a color for "needs review" might encourage editors to double-check that particular content. Similarly, they help in collaboration, but if team members have conflicting preferences for label colors, this can lead to confusion. All these things suggest that Premiere Pro's label color system, while useful, needs careful consideration and standardization to avoid unintended consequences on workflow and user experience.
Setting Default Text Labels in Premiere Pro A Step-by-Step Guide for 2024 - Adapting to Interface Changes in the 2024 Update
Premiere Pro's 2024 update brings a redesigned interface, sparking both excitement and frustration among users. While the fundamental editing processes remain largely the same, the interface has seen a refresh, with changes to the color settings panel, new icons, and a slightly different overall layout. This update also introduces new AI-driven tools, such as those for audio enhancements, hinting at a future focus on automated editing features.
While the changes aim to improve workflow and make the editing experience smoother, some users might find adapting to the updated layout and iconography a bit of a challenge. There's a tension here between the desire to streamline the editing process and potential user confusion caused by the new interface. The updated design and AI tools do promise an overall increase in speed and accessibility for many users. However, it's important to be aware of and adapt to these interface changes to fully utilize the new tools and workflows within the latest version. Moving forward, understanding these new elements will be key to effectively using Premiere Pro's expanding feature set.
The 2024 Premiere Pro update has brought about changes to the interface's labeling system, with a focus on automation and customization. One notable addition is an "intelligent" system that automatically applies label colors to text elements based on how they're used within a project. While this might speed up editing by automatically organizing elements, it remains to be seen if this level of automation is genuinely helpful in diverse project types.
Premiere Pro now offers more options for making label colors accessible, which is a positive development for inclusivity in video editing. This means that you can adjust colors to meet certain standards for those with visual impairments. It will be interesting to see if this aspect of the interface gets refined further over time, and if users find the defaults adequate in this respect.
The 2024 update makes it simpler to integrate with various AI tools that suggest the most suitable label colors based on the video's content. It's intriguing to consider the possibilities of AI-driven organization, though there are concerns about the level of control editors retain over the interface. There's a trade-off between using automation and managing aspects of the interface manually, and this will influence how different users might choose to utilize the features.
Beyond simple color selection, you can now assign varying levels of opacity to the label colors. This extra layer of visual differentiation can aid in task prioritization without causing visual clutter. While the approach seems straightforward in theory, it's worth observing how frequently this capability is used in real-world editing workflows.
While there is a mechanism for building custom label color presets, there's a potential drawback—they are not automatically carried over across different projects. This might hinder workflow continuity and make repetitive tasks feel more tedious. It's not clear why this wasn't incorporated by default.
There's growing awareness of how color choices influence the way viewers perceive the content. The update seemingly gives editors more tools to align visual aspects with storytelling objectives by intentionally associating certain emotions with particular color labels in the timeline. It's not obvious how many editors will actually leverage this feature, but it is a sign of the continued integration of psychological concepts into creative tools.
Unfortunately, there are some reports of confusion regarding the location where one customizes label colors. This highlights a common problem in software development—even seemingly useful features can be frustrating to use if the interface isn't designed thoughtfully. A well-designed and clear interface enhances the usability of advanced features.
Color psychology's integration into label colors could make collaboration easier. Editors can communicate task priorities through strategic color assignments. For instance, using a shade of red for urgent edits might subtly signal to others that those tasks should be prioritized. This is interesting, but will it be adopted in the long run?
However, there's a potential issue. If multiple team members don't follow a standard color guide for their projects, the influx of numerous unique colors can hinder visual clarity. Adopting a shared understanding of colors within teams becomes a necessity if these advanced features are to be fully utilized.
As part of the troubleshooting process, Premiere Pro now has a feature where you can preview label color changes before implementing them. This is a welcome addition as it will potentially help avoid mistakes and maintain project integrity. It will be insightful to observe if this has a significant impact on the number of errors users make, and the associated frustration it can cause.
The interface's labeling tools are certainly getting more nuanced. It will be interesting to observe how much the labeling features influence the speed and quality of different editors' workflows. Will we see a shift in editing habits due to these changes? Overall, while promising, the full implications of these additions are still unfolding.
More Posts from transcribethis.io:
- →Unraveling the Mysteries GPT-4o's Remarkable Ability to Detect Hindi Accents in English Speech
- →Comparative Analysis 7 AI Note-Taking Tools for Streamlining Client Meeting Summaries in 2024
- →The Rise of Diverse Voices in Podcasting A 2024 Analysis
- →GPT-4o's Video Processing Lag Exploring the Disconnect Between Visual Input and Real-Time Response
- →The 7 Best Transcription Software Options for Effortless Accuracy in 2024
- →How Often Do Players Really Use Power Armor in Fallout 4?
